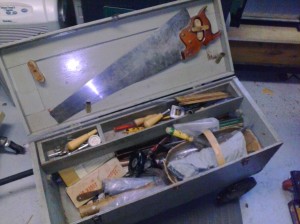
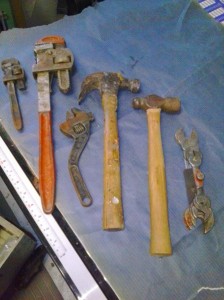
Hey friends! I have more on tools today! I bought a little box of goodies from Lee Valley again. I also worked on my dust collection system, and I have a little bit of genius jury rigging to share with you from work.
First up; dust collection! I am a little annoyed to admit that I’ve bought a bunch of dust fittings that for some reason are not made to fit to standard sized vac hoses or the dust ports of my machines. Even the dust separator lid I’d bought had some weird sized fittings. So I finally had it out with all these fittings and cobbled together solutions for ALL of the machines I’d bought them for!

I’ve been carefully avoiding large chips with my vacuum because they clog the 1 1/4″ hose very easily.

Well after a near melt down, I came to a solution and cleaned the entire shop.

I bought this dust separator lid a while back and have finally got it hooked up. The fittings were stepped and I had to cut off the smaller steps to get my hoses to fit. I used my bandsaw to slice the steps off, then followed up on the edge sander. Now everything fits!
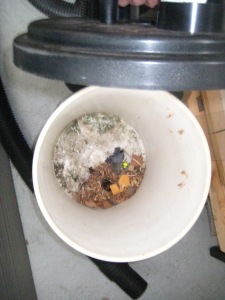
It’s hard to make out but there are all kinds of debris in here that easily would have clogged my vac hose! Now I have to come up with a solution to keep the bucket from tipping over every other second. I’m thinking of making a rolling base that will hold my shop vac and the separator.
And here’s a bit on what I bought from Lee Valley:
I finally bought a set of guide bushings for my router, and an inlay kit while I was at it.

I was rather disappointed with the small size of these veneer sheets, but at least it will give me a start on practicing my marquetry. And I have a lamp shade project in mind for this that I’ll start on soon!

Can’t say I’ll buy these scraps again though.

Okay so ever since I saw a video of Frank Klausz cutting a mortise with one of these I knew I would need to try it myself.
And finally I was at work yesterday and I was simply dazzled by a jig my co-worker had made. I asked him if I could take photos and he was happy to share his idea. EVERYONE should build one of these!!!!

Check out this edge trimming jig! There is even thought put into deflecting the chips with a piece of plexi-glass

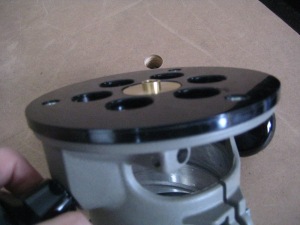
Here you can see the router bit, which has a bearing and is lined up just a hair below the surface of the mdf fence.

From the side you can see that the mdf is relieved with a groove right where the edging rides up against the router base
So if you didn’t already notice the last photo shows it very well, the whole jig is made with the edge guide that comes with your router! Simply screw on a piece of mdf that you’ve made a hole in for the bit, and a groove in that allows the edging to pass freely by the fence, and voila! The perfect edge trimming jig. I couldn’t get enough of his demonstrating how easy it was to use, he barely had to lift a finger and his edge was knocked down to a hair above the surface.
Woodworkers are a clever pack of friendly creatures.